

Somewhere in your home — or for $30 at a thrift store — sits a solid wood dresser, table or cabinet that looks tired only because its finish is. Paint is the cheapest transformation in home decor: for the price of a takeaway dinner, a dated piece becomes the one guests ask about. These 15 furniture makeovers with paint cover the ideas that work on real furniture, the paint types worth knowing, and the exact prep-and-finish process that separates a makeover that lasts a decade from one that peels by spring.
Last updated: October 21, 2026. One more reason to paint instead of replace: by EPA estimates, Americans throw away around 12 million tons of furniture a year — most of it perfectly sound under the finish.
Dressers, Cabinets & Storage
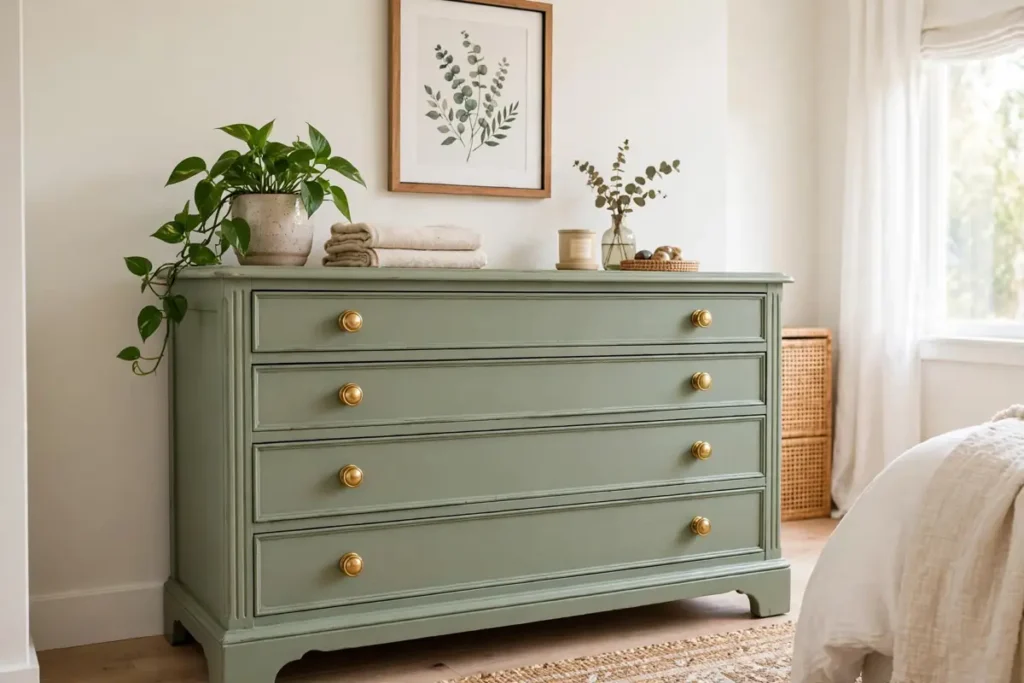
1. The One-Color Dresser Refresh
The definitive makeover: a dated orange-oak or dark-veneer dresser in a single modern color — sage green, ink navy, warm putty — with new knobs. One color unifies mismatched carvings and repairs into a single clean silhouette, and hardware is the jewelry: budget $2–$6 per knob and the piece reads a class above its cost.
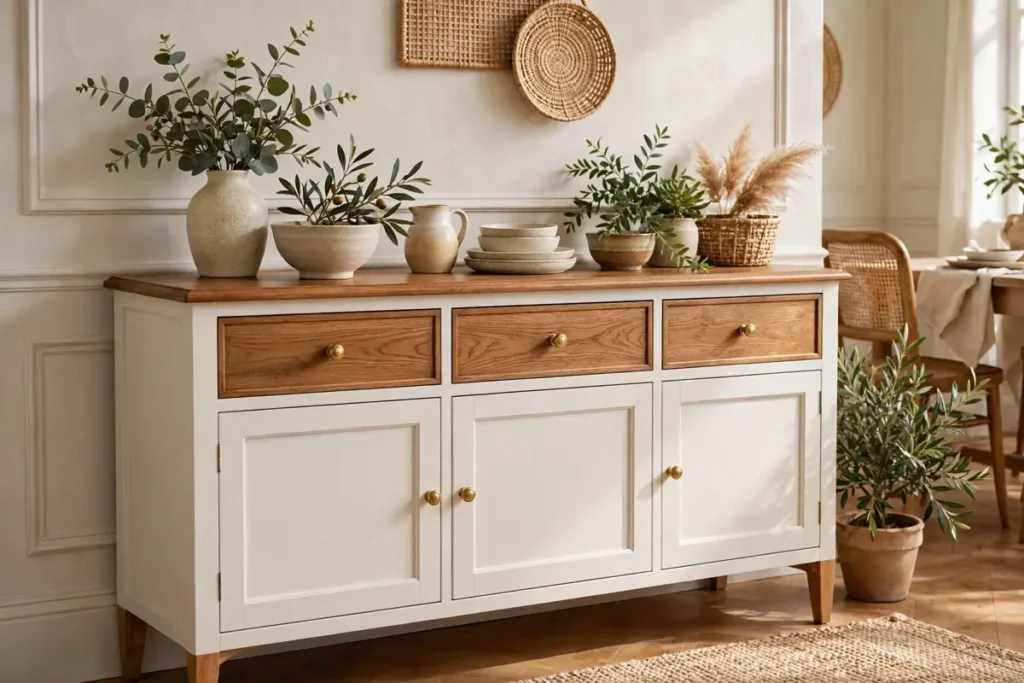
2. Two-Tone: Painted Body, Wood Top
Paint the body and drawers, strip and oil the top (or the drawer fronts) to keep the best grain on show. Two-tone rescues pieces whose tops are beautiful but whose bodies are damaged — and it lightens heavy furniture visually, which is why it works so well on sideboards and hutches.
3. The Dipped Look
Tape a clean horizontal line two-thirds up the legs (or across the piece) and paint only below — or only above — it. The “dipped” effect turns plain thrifted stools, chairs and side tables into graphic, modern pieces with half a tin of paint.
4. Stenciled & Patterned Drawers
A stencil, a geometric tape pattern, or decoupage on drawer fronts only (body kept solid) adds craft detail without tipping into busy. Ideal for children’s furniture and plain flat-pack pieces that need a personality.
5. Kitchen Cabinets: the Biggest Makeover of All
Painting sound cabinets instead of replacing them saves five figures and weeks of renovation. It follows the same process as everything in this guide, with two upgrades: use a hard-wearing alkyd or cabinet enamel, and take doors off to spray or roll them flat — vertical drips are the enemy. Our broader DIY furniture makeover guide covers the repair work cabinets often need first.
Tables, Chairs & Seating
6. Farmhouse Distressed Table
Chalk paint, lightly sanded back at edges and corners to reveal wood beneath, sealed with wax. Distressing is the most forgiving finish for beginners — every future knock and scrape joins the pattern instead of ruining it, which is why it suits family dining tables so well.
7. High-Gloss Color Pop
The opposite philosophy: a flawless, lacquer-look gloss in a saturated color — emerald, oxblood, cobalt — on a small piece: an entry console, a desk, a pair of nightstands. Gloss shows every flaw, so prep must be perfect and thin coats essential, but nothing else in paint looks this expensive.
8. Mismatched Chairs, One Color
Collect four to six different thrifted dining chairs and paint them all one color (or one palette of tones). Instantly they become a deliberate, curated set — the oldest trick in the stylist’s book, and still the best-value dining room upgrade there is.
9. The Painted Bench or Pew
Entryway and porch benches in weather-tough exterior paint become the home’s hardest-working furniture: seating, shoe storage base and first impression in one. If your entry gets a bench, give the wall behind it the same treatment logic we used for beds in the DIY headboard ideas — a painted shape behind furniture multiplies the effect.
Small Pieces, Fast Wins
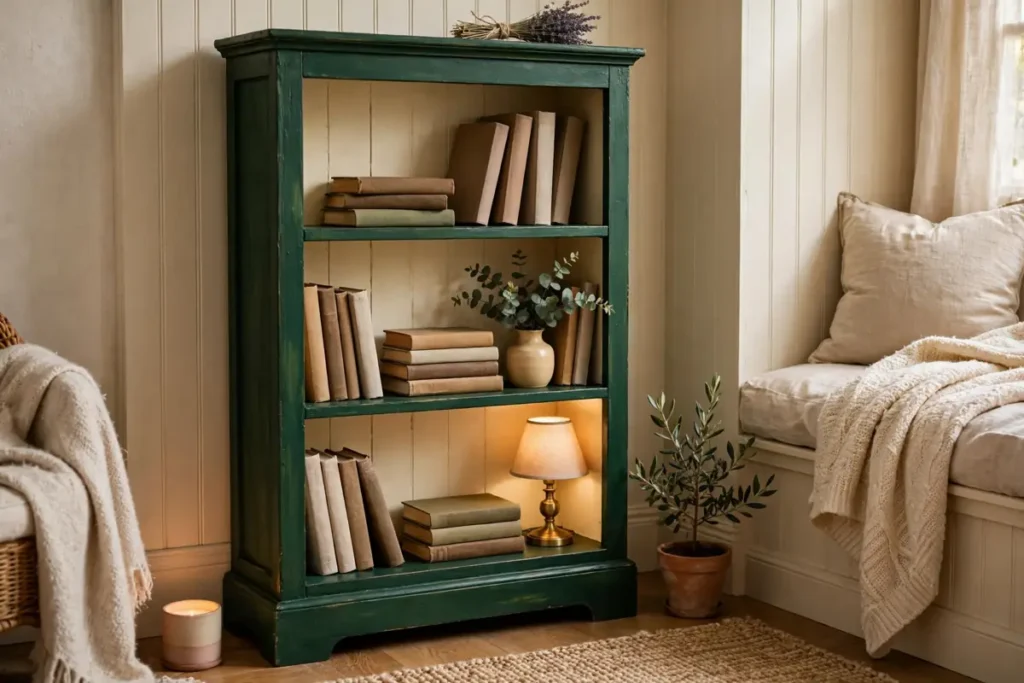
10. Bookcase with a Contrasting Back
Paint the bookcase body one color and the inside back panel another (or wallpaper it). An hour or two of work, and objects on the shelves suddenly look styled. Deep green outside, cream inside is the combination of the moment.
11. Nightstands & Side Tables in Pairs
Two unmatched side tables plus one color equals a “set” — and bedroom pairs are exactly what furniture stores charge most for. Under an hour each with chalk paint.
12. Mirror & Picture Frames
Gilded, matte black or color-matched frames unify a gallery wall and make thrifted mirrors look intentional. Spray paint is the right tool here — thin, even coats, no brush marks on curves.
13. The Color-Drenched Built-In
Paint a built-in bookcase or alcove unit — shelves, frame and the wall inside it — in one deep color, the “color drenching” move currently defining living rooms. It turns storage into architecture, and pairs beautifully with the whole-room thinking in our tips for decorating your home.
14. Laminate & Flat-Pack Rescue
Yes, you can paint laminate — the secret is a shellac-based bonding primer after a thorough degloss and scuff-sand. Without that primer the paint will scratch off with a fingernail; with it, flat-pack pieces survive years of use.
15. Outdoor Furniture Revival
Weathered metal and wood garden furniture in fresh exterior paint (rust-converting primer on metal first) is the highest-value spring project on this list: a “new” patio set for the cost of two tins.
Choosing Your Paint: the 5 Types That Matter
| Paint type | Best for | Prep needed | Finish & durability |
|---|---|---|---|
| Chalk / mineral paint | Beginners, distressed & matte looks | Minimal — clean & go | Matte; needs wax or topcoat; medium durability |
| Latex + bonding primer | General furniture, big color range | Scuff-sand + prime | Satin typical; good durability |
| Alkyd / cabinet enamel | Cabinets, tables, high-wear pieces | Sand + prime | Hard, smooth, self-leveling; highest durability |
| Milk paint | Authentic vintage, chippy finishes | Mix fresh; bonding agent on sealed wood | Unpredictable in a good way; seal it |
| Spray paint | Chairs, frames, metal, intricate shapes | Clean, mask, light sand | Smooth thin coats; medium durability |
The Step-by-Step Process (Do Not Skip the Boring Parts)
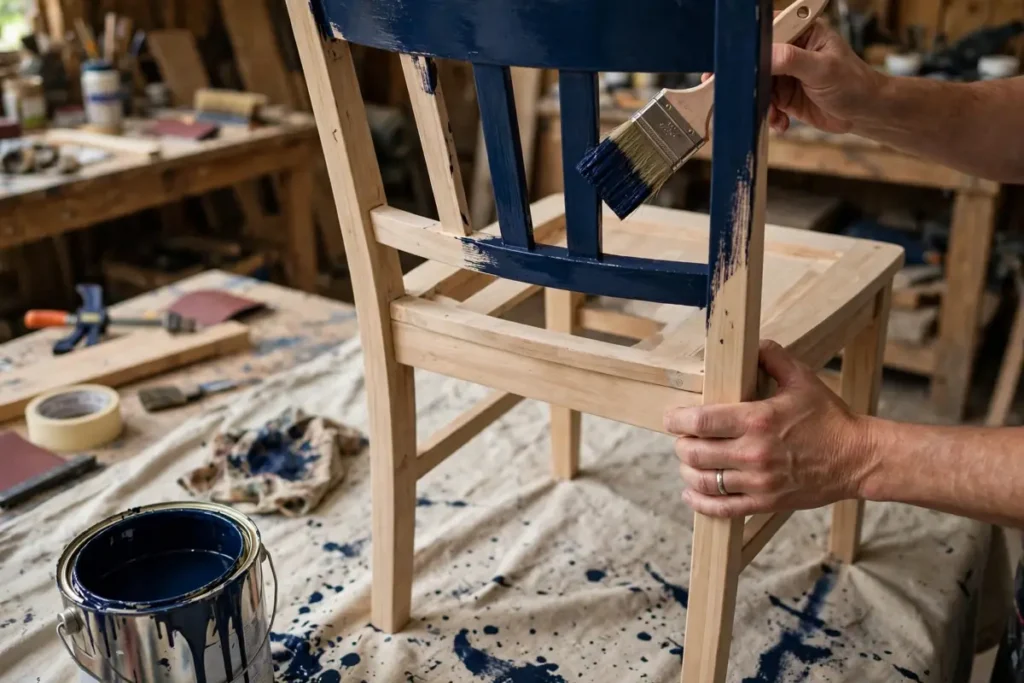
- Clean properly. Degrease with a TSP substitute or sugar soap — paint over kitchen grease and cooking film is paint over failure.
- Repair. Fill dents and chips, glue loose joints and veneer, tighten everything. Paint highlights damage; it does not hide it.
- Sand or degloss. A scuff-sand with 120–150 grit gives paint something to grip. You are dulling the surface, not stripping it.
- Prime where it counts. Bare wood, laminate, stains and knots (which bleed through) need primer — shellac-based for tannins and laminate, standard bonding primer elsewhere.
- Thin coats, plural. Two to three thin coats beat one thick one every time. Sand lightly (220 grit) between coats for the smooth, professional finish.
- Seal high-wear surfaces. Tabletops, dresser tops and seats get a water-based polyurethane topcoat; low-wear pieces can live with wax or the paint’s own finish.
- Respect the cure. Paint dries in hours but cures in 2–4 weeks. Use the piece gently until then — most “paint isn’t durable” stories are really “used it hard on day two” stories.
- New hardware last. Measure hole spacing before ordering, and fit hardware after the final coat has hardened.
What It Costs: DIY vs. New vs. Professional
| Piece | DIY paint cost | Comparable new | Pro refinish |
|---|---|---|---|
| Dresser | $30–$70 | $300–$900 | $250–$600 |
| Dining table + 4 chairs | $50–$110 | $600–$1,800 | $500–$1,200 |
| Kitchen cabinets (average kitchen) | $150–$400 | $8,000+ (replacement) | $1,500–$4,500 |
| Nightstand pair | $20–$45 | $150–$400 | $150–$300 |
| Bookcase | $25–$60 | $200–$700 | $200–$450 |
The pattern holds everywhere: paint returns 5–15 times its cost against buying new, and it slots into a whole budget refresh — exactly the strategy behind refreshing your decor with affordable pieces. And when a piece truly is beyond paint, let it go cleanly using the system in our decluttering guide rather than painting something you do not actually want.
The 5 Mistakes That Ruin Painted Furniture
- Skipping the clean and the scuff-sand. Ninety percent of peeling paint is a prep failure, not a paint failure.
- One thick coat. Drips, brush marks, and a surface that stays soft for weeks.
- Painting laminate or knots without the right primer. Both will betray you — one by peeling, the other by bleeding brown spots through pale paint.
- Cheap brushes on smooth finishes. A $10 brush is the difference between “hand-painted charm” and “obviously homemade.”
- Loading the piece with books and lamps on day one. Cure time is real; soft paint dents, sticks and imprints.
Frequently Asked Questions
Do you have to sand furniture before painting?
You rarely need to strip to bare wood, but you almost always need a scuff-sand: a few minutes with 120–150 grit to dull the shine so paint can grip. Chalk and mineral paints forgive skipping it on matte, clean wood — glossy, greasy or laminate surfaces forgive nothing.
What is the best paint for a beginner’s first project?
Chalk or mineral paint: minimal prep, no visible brush-stroke anxiety, and a matte finish that hides a multitude of sins. Seal a tabletop or dresser top with a water-based topcoat and it will handle daily life happily.
Can you paint laminate or IKEA furniture?
Yes — clean, scuff-sand, and use a shellac-based bonding primer before your color coats. The primer is the whole secret; with it, painted laminate lasts for years, and without it, it scratches off in weeks.
How long does painted furniture take to cure?
Most furniture paints are dry to the touch in 1–2 hours and recoatable in 2–4, but full cure takes 21–30 days depending on the product and conditions. Handle gently, avoid dragging objects across the surface, and keep pieces out of humid rooms until cured.
Conclusion: Solid Wood, Second Life
The best furniture most of us will ever own is already built — it is sitting in bedrooms, thrift stores and relatives’ garages wearing an unfashionable finish. Paint does not just change its color; it changes whether it gets used for another thirty years or landfilled this one. Choose a piece with good bones, respect the prep, let it cure, and you will own the most satisfying kind of furniture there is: the kind with a before photo.