

Last updated: October 21, 2026 — A 1950s cottage bathroom is a renovation tightrope. Gut it completely and you lose the mint tile, the cast iron tub and the charm that made you love it. Change nothing and you keep 70-year-old plumbing, no ventilation and a layout built for a very different life. This fully updated 2026 guide walks the line between the two: what to keep, what to replace, what it really costs, and the order to do the work in.
Key Takeaways: Renovating a 1950s Cottage Bathroom
- Keep the soul, replace the systems: save sound tile, the cast iron tub and the footprint; budget your money for plumbing, electrics and ventilation instead.
- Realistic 2026 budget: a cosmetic refresh runs $2,500–$7,500, a full renovation keeping the layout $12,000–$28,000, and moving walls or plumbing pushes past $30,000.
- Test before you demolish: homes of this era can contain lead paint and asbestos in old floor tiles and pipe insulation — test first, and use licensed removal where required.
- Small is workable: most 1950s cottage bathrooms are 35–50 sq ft. Wall-hung and compact fixtures, a mirror cabinet and good light make them feel twice the size.
- Ventilation is non-negotiable: most 1950s bathrooms had none. A proper exhaust fan is the single best protection for everything else you spend money on.
What Makes a 1950s Cottage Bathroom Different?
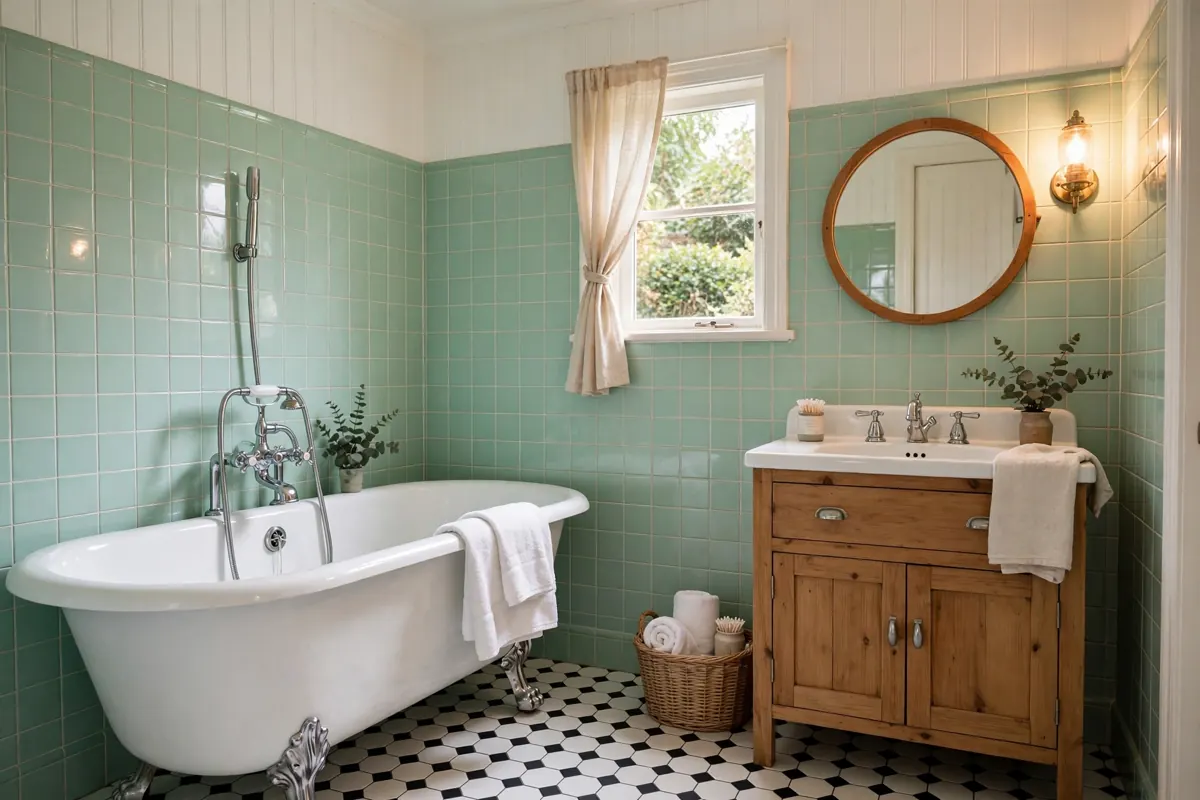
The classic 1950s cottage bathroom is small, colorful and surprisingly well built: pastel ceramic tile (mint green, powder pink, baby blue or grey) set in a thick mortar bed, a heavy cast iron tub, a wall-hung or pedestal sink, chrome fittings, and black-and-white hexagon floor tiles. The materials were made to last — which is why so much of it is still serviceable today. What has aged out is everything behind the walls: galvanized supply pipes corroding from the inside, cast iron drains nearing the end of their life, ungrounded electrics, and no exhaust fan, so decades of steam have been soaking into plaster and timber. For current style directions that still respect this look, compare the ideas in the latest bathroom trends you’ll love — many of 2026’s favorites (colored tile, chrome, hex floors) are the 1950s originals coming back around.
Keep or Replace? The Decision Table
| Feature | Keep If… | Replace If… |
|---|---|---|
| Cast iron tub | Structurally sound — reglazing costs $300–$600 | Cracked, rusted through, or you need a walk-in shower |
| Wall tile | Tiles are firm, grout can be renewed | Tiles are loose/hollow, or the wall behind is water-damaged |
| Floor | Original hex tile is intact (repair individual tiles) | Subfloor is soft or water-damaged underneath |
| Plumbing | Only if already replaced in copper/PEX | Galvanized pipes remain — replacing them is the renovation |
| Toilet | — (sentimental value aside) | 1950s toilets use 3–5 gallons per flush; a modern dual-flush uses about 1.28 |
| Vanity/sink | A wall-hung original in good enamel | You need storage — a compact drawer vanity transforms the room |
| Electrics | — | No GFCI outlet, no fan, ungrounded wiring: all must be updated to code |
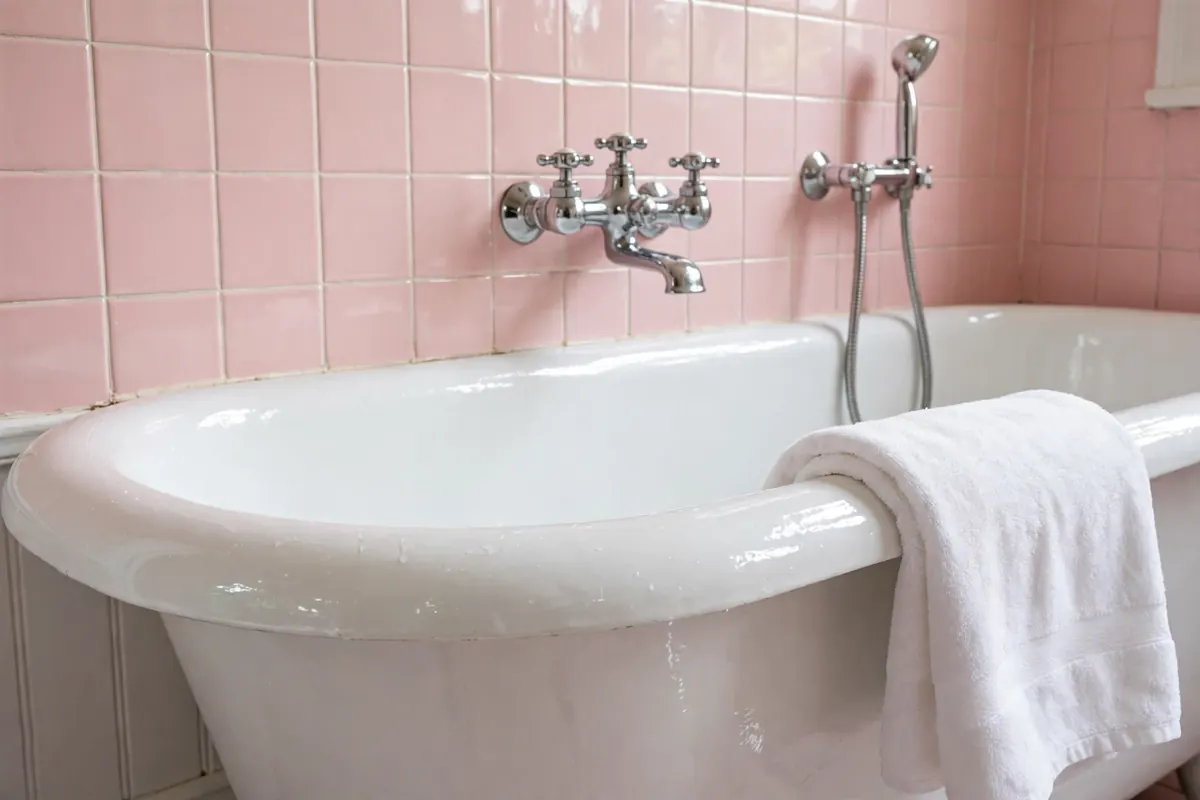
The tub deserves a special word, because it is the piece people most regret removing. Cast iron holds heat far better than modern acrylic, and its weight is also the catch — removal usually means cutting it up in place, and a like-for-like replacement is expensive. Reglazing (professional refinishing) restores the gloss for a few hundred dollars. If you do replace, our guide to bathtub materials and cutting-edge styles compares cast iron, acrylic, steel and stone resin honestly.
How Much Does It Cost in 2026?
| Scope | What’s Included | Typical 2026 Cost (USD) |
|---|---|---|
| Cosmetic refresh | Reglazed tub, regrout/paint, new toilet, vanity, lighting, fan | $2,500–$7,500 |
| Full renovation, same layout | Back to studs, new plumbing in place, re-tile, new fixtures | $12,000–$28,000 |
| Layout change / expansion | Moving plumbing or walls, structural work, permits | $30,000–$50,000+ |
| Retile only | Professional re-tiling of walls/floor | See our breakdown of how much it costs to retile a bathroom |
Two budget rules for houses of this age: hold a 15–20% contingency (opening 1950s walls reliably produces one surprise — rotten subfloor, mystery wiring, a drain made of optimism), and spend on the hidden work first. New tile over failing plumbing is money spent twice. On a tighter budget, these budget-friendly bathroom remodel ideas show how far a cosmetic-scope budget can go.
Step-by-Step: The Renovation in the Right Order
- Inspect and test (week 0): photograph everything, test suspect materials for lead/asbestos before any demolition, and have a plumber camera-inspect the drains.
- Plan and order (weeks 1–4): finalize the layout (keep plumbing in place if you possibly can), order tile, fixtures and the vanity — lead times, not labor, cause most delays.
- Careful demolition (days 1–3): remove fixtures you are replacing; protect tile and the tub if they are staying. This is where asbestos/lead results dictate method and protective equipment.
- Rough plumbing and electrics (week 1–2): replace galvanized supply lines, renew the drain and vent where needed, add GFCI outlets, fan wiring and proper lighting circuits. Knowing the most common plumbing problems and how to prevent them helps you ask your plumber the right questions.
- Waterproofing and ventilation (week 2): modern membrane waterproofing in wet zones (1950s builds relied on the mortar bed alone) and a quiet exhaust fan ducted outside — never into the attic.
- Tile and floor (week 2–3): repair or replace the floor, then wall tile. Saving original tile? Now is the deep-clean and regrout stage — our tile and grout cleaning guide covers bringing old grout back.
- Fixtures and finishes (week 3–4): vanity, toilet, tub/shower fittings, mirror, lighting, paint and hardware — in the room’s original spirit, with modern mechanisms inside.
Layout Ideas for a Small Cottage Bathroom
You cannot add square feet you do not have — but you can stop wasting them. Keep the plumbing wall as it is, and try these instead:
- Swap a vanity cabinet for drawers: a 24–30 inch drawer vanity stores more than a larger cabinet with a dead void inside.
- Add a mirror cabinet, not a mirror: recessed or slimline mirrored cabinets swallow the bottles that crowd small counters.
- Go wall-hung where possible: a wall-hung toilet or floating vanity shows more floor, and more visible floor reads as more space.
- Use the door swing: a pocket door or an outward-opening door can free several square feet in a 35 sq ft room.
- One shelf, done well: a single wooden or tiled shelf with baskets beats three cluttered ones — see the storage-first approach in our small bathroom remodel guide.
Keeping the Retro Charm (Without Living in a Museum)
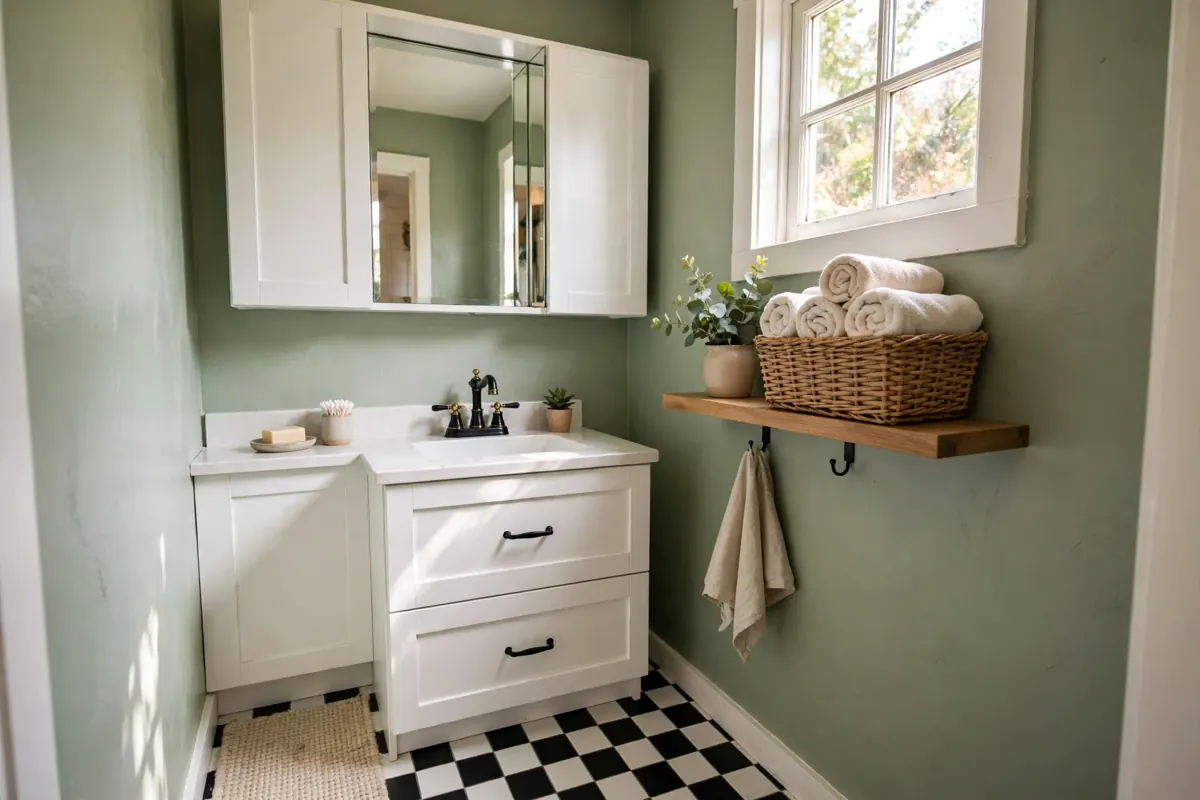
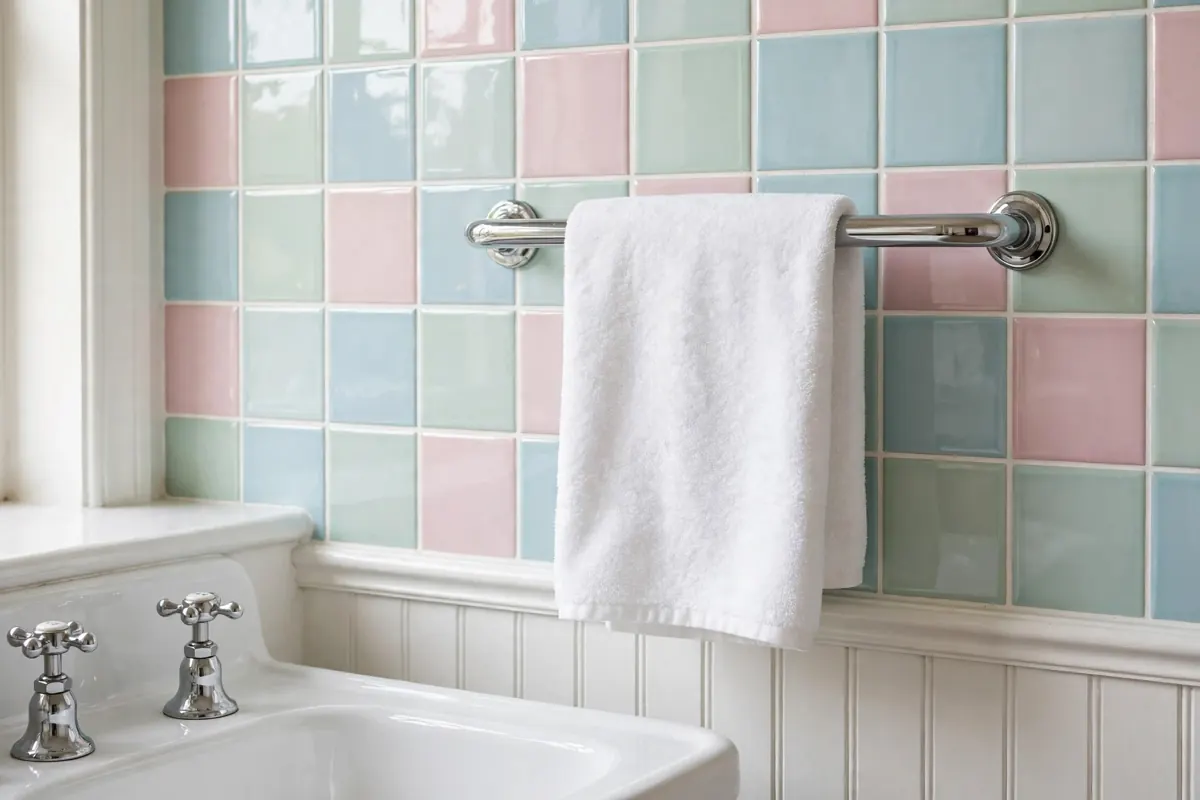
The sweet spot is “1950s, but everything works.” Keep the color story — mint, pink, blue or grey tile with white and chrome — and one or two period shapes (the tub, a hex floor, a scalloped mirror). Then let the modern pieces be quietly modern: a comfort-height dual-flush toilet in a classic shape, thermostatic shower valve behind a period-style handle, warm LED lighting in vintage-look sconces. Regrouting and deep-cleaning original tile, rather than replacing it, preserves both charm and budget; where tile is already gone, new tile in period sizes (4×4 wall squares, 1-inch hex floor) recreates the look honestly. Broader direction is in our ultimate guide to bathroom design trends.
5 Mistakes That Ruin 1950s Bathroom Renovations
- Gutting first, thinking later. Original mortar-bed tile and cast iron are expensive to recreate and cheap to destroy. Decide keep/replace before the sledgehammer comes out.
- Skipping the fan to save $200. Steam is what damaged the room for 70 years. No fan means your new grout, paint and timber start the same slow rot.
- Moving the toilet “just a few feet.” Moving a drain is the most expensive sentence in bathroom renovation. Design around the existing stack.
- Tiling over soft floors. Any bounce or water staining underfoot means subfloor repair first — new tile on a moving base cracks within a year.
- Ignoring permits and era hazards. Plumbing/electrical changes need permits in most areas, and disturbing asbestos or lead without proper process is a health risk and a legal one.
Frequently Asked Questions
How long does a 1950s cottage bathroom renovation take?
A cosmetic refresh takes 1–2 weeks. A full back-to-studs renovation keeping the same layout typically takes 3–5 weeks of work, plus 2–4 weeks beforehand for design, permits and ordering materials. Layout changes and structural repairs add 2–4 weeks.
Should I keep the pink (or mint) tile?
If it is sound — tiles firm, no hollow spots, wall behind dry — keeping it is usually the smartest move financially and aesthetically: it is the room’s identity, buyers of character cottages actively look for it, and recreating it new costs far more than regrouting and deep-cleaning it. Replace it when it is loose, cracked across large areas, or hiding water damage.
Can I renovate a 1950s bathroom myself?
Confident DIYers can handle demolition (with hazard testing first), painting, regrouting, reglazing kits, and fitting like-for-like fixtures. Leave supply/drain plumbing changes, electrics and waterproofing in wet zones to licensed professionals — in many areas the law requires it, and those are precisely the jobs where a mistake hides inside a wall for years.
Is a 1950s bathroom worth renovating, or should I expand it?
Renovating in the existing footprint is almost always the better value: expanding means moving drains and usually a wall, which can double the budget. A well-planned 40 sq ft bathroom with good storage, light and ventilation serves a cottage perfectly well — spend the expansion money on quality inside the footprint instead.
Conclusion: Modern Bones, 1950s Soul
The best 1950s cottage bathroom renovations are invisible where it matters and respectful where it shows: new pipes, safe electrics and dry, ventilated walls behind tile and a tub that have already outlived several trends. Decide what to keep before you demolish, spend on the hidden systems first, and let the retro charm you fell for be the design — not the problem.
Start with an inspection and a camera roll of “before” photos. In a month, you can be standing in the after.