

Worn woodwork can look tired fast. Scratches, dull spots, and yellowed finish make trim, cabinets, doors, and furniture look older than they are. The good news is that you don’t need to replace them. With the right steps, you can refinish woodwork yourself and get results that look professional.
This guide walks you through the full process. You’ll learn how to identify your current finish, gather the right supplies, stay safe, strip the old coating, sand the bare wood, and apply a new finish. You’ll also find fixes for the most common problems, like blotchy stain and sticky topcoats.
Plan on a weekend for a small project, such as one door or a set of chairs. Larger jobs, like all the trim in a room, take longer. Patience matters more than speed here.
Step 1: Check the Current Finish on Your Woodwork
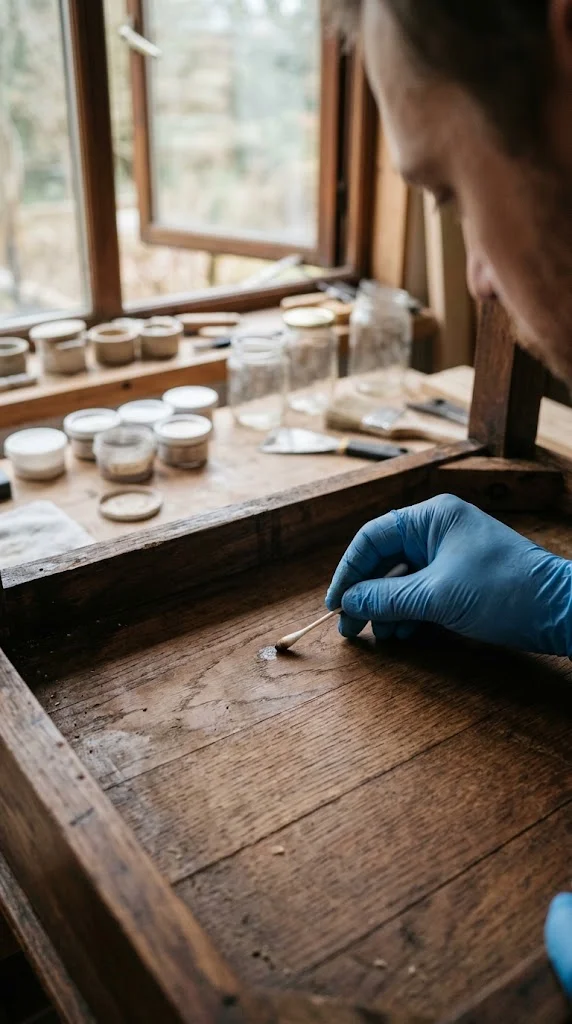
Before you buy anything, find out what is on your wood. The finish decides which stripper to use and how much work lies ahead.
Common Types of Wood Finish
- Lacquer: Dries fast, feels smooth, and resists moisture. Common on older furniture and factory-finished pieces.
- Shellac: A natural resin with an amber tint and a warm gloss. Water and alcohol can damage it.
- Varnish: Forms a hard, durable layer with a warm color. Often found on doors, trim, and boats.
- Polyurethane: A synthetic coating that resists scratches and moisture. Oil-based types turn amber over time. Water-based types stay clear.
- Oil finish: Soaks into the wood instead of sitting on top. It brings out the grain but gives less protection.
A Simple Test to Identify Your Finish
Pick a hidden spot, such as the back of a door or the underside of a table. Then test in this order:
- Rub the spot with a cotton swab dipped in denatured alcohol. If the finish gets sticky or dissolves within a minute, it is shellac.
- If nothing happens, try lacquer thinner on a fresh spot. If the finish dissolves, it is lacquer.
- If neither one works, you most likely have varnish, polyurethane, or an oil finish. Treat it as a hard finish and plan to strip or sand it.
Always wear gloves and open a window during the test. Both liquids give off strong fumes.
Step 2: Gather Your Tools and Materials
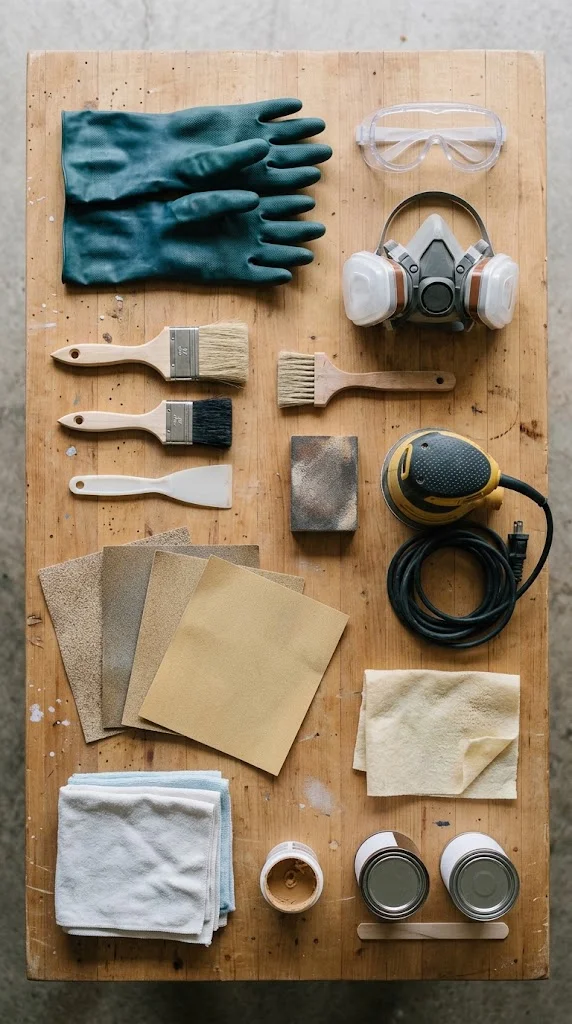
Having everything ready saves you from stopping mid-project with wet stripper on the wood.
Tools
- Brushes (natural bristle for oil-based products, synthetic for water-based)
- Chemical-resistant gloves
- Putty knife and scrapers
- Respirator with chemical cartridges
- Safety goggles
- Sandpaper in several grits (80, 120, 150, 180, 220, and 320)
- Steel wool or synthetic abrasive pads
- Lint-free rags
Materials
- Chemical stripper
- Denatured alcohol or mineral spirits for cleanup
- Tack cloth
- Wood conditioner
- Wood filler
- Wood stain
- Sealer, if your finish system calls for one
- Top coat (polyurethane, varnish, shellac, or lacquer)
Optional Tools That Save Time
A random orbit sander handles flat surfaces quickly. Detail brushes and sanding sponges reach carvings and molding. A heat gun can soften thick paint, but use it only if you are sure the paint has no lead.
Step 3: Set Up a Safe Workspace
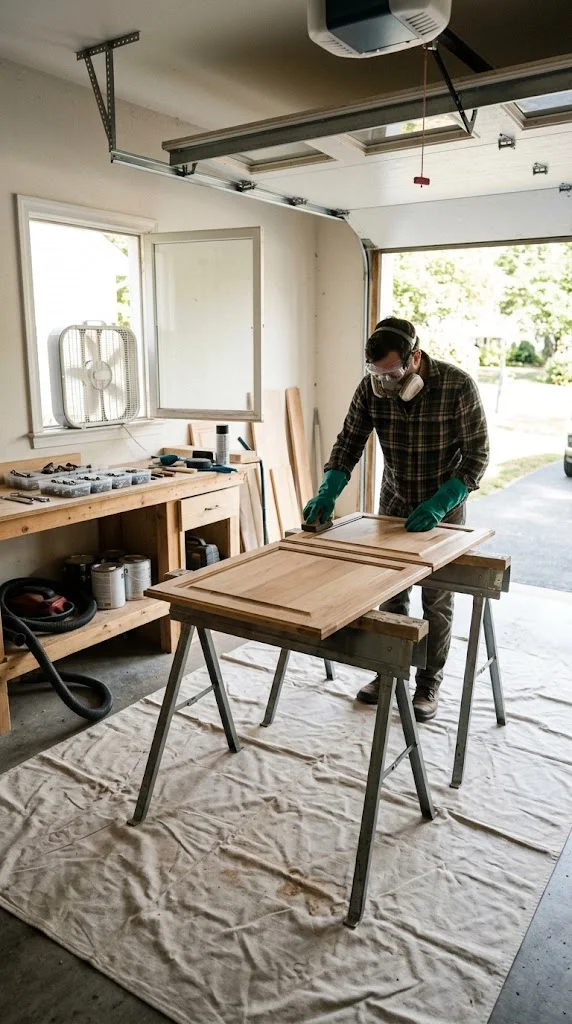
Refinishing involves strong chemicals and fine dust. A few minutes of setup protect your health and your home.
Prepare the Area
- Cover the floor. Use drop cloths or plastic sheeting under your work area.
- Open windows and run a fan. Point the fan so it pulls fumes out, not toward you.
- Remove hardware. Take off hinges, knobs, and pulls. If you can, remove doors and drawers and work on them flat.
- Keep away from flames. Many strippers and finishes are flammable. Turn off pilot lights and avoid sparks.
Wear the Right Gear
Put on chemical-resistant gloves, wraparound safety goggles, a long-sleeve shirt, and old pants. Use a respirator with chemical cartridges when working with strippers indoors. A basic dust mask will not protect you from fumes.
Check for Lead Paint
If your home was built before 1978, the old paint on the woodwork may contain lead. Lead dust is harmful, especially to children and pregnant women. Buy a lead test kit at a hardware store before you start. If the test is positive, avoid dry sanding. Use chemical stripper, or hire a lead-safe certified contractor.
Handle Chemicals and Rags Safely
Read every label before you open a can. Choose strippers made for indoor use, and check that the label lists the wood and finish types it works on. Rags soaked in oil-based stain or finish can catch fire on their own as they dry. Lay them flat outdoors to dry, or soak them in water and seal them in a metal can. Then follow your local rules for disposal.
Step 4: Strip the Old Finish
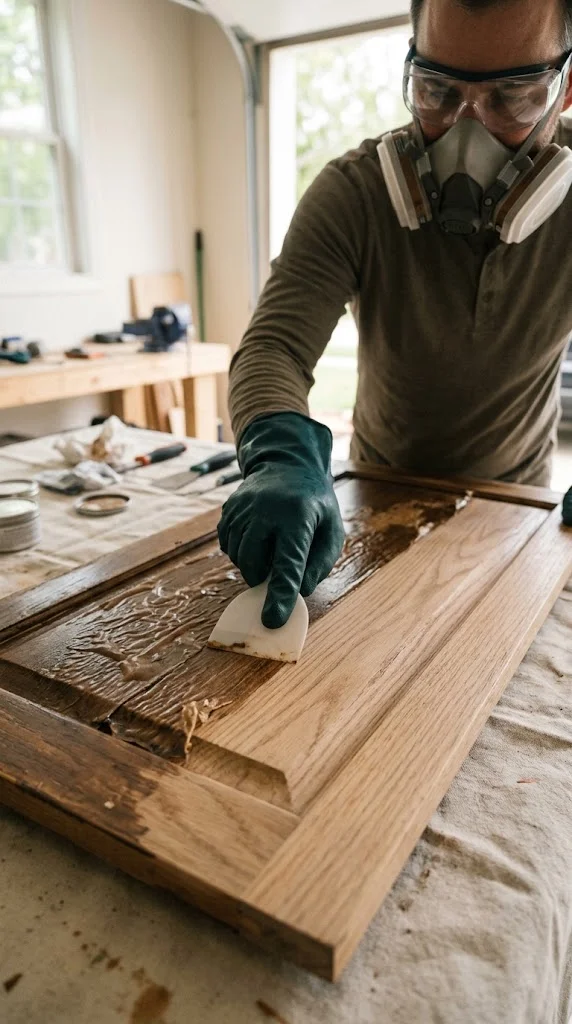
How you remove the old finish depends on its type and condition. Light wear may only need a cleaning and a fresh top coat. Cracked, peeling, or very dark finish needs full stripping.
Method 1: Chemical Stripper
Chemical stripping is the best choice for detailed trim, carvings, and thick layers of old finish. It is slow and messy, but it protects the wood.
- Apply a thick coat. Brush the stripper on in one direction. Don’t spread it thin.
- Wait. Let it sit for the time on the label. The finish should bubble or wrinkle.
- Scrape gently. Use a plastic scraper or putty knife and move with the grain. Use a brush or a pick for grooves.
- Repeat if needed. Thick finish often takes two rounds.
- Clean the wood. Wipe with the cleaner the stripper label recommends, usually mineral spirits or water. This removes residue that could block the new finish.
Method 2: Sanding
Sanding works well for flat surfaces with thin or worn finish. It avoids chemicals, but it creates a lot of dust. Wear a fitted dust mask or respirator and hook your sander to a vacuum if you can.
- Start at 80–100 grit to remove most of the finish.
- Move to 120–150 grit to remove scratches from the first pass.
- Sand with the grain. Sanding across it leaves marks that show up under stain.
- Keep the sander moving. Staying in one spot digs gouges in the wood.
For corners, narrow edges, and molding, use a sanding sponge or a sharp hand scraper. Power sanders round over crisp edges.
Step 5: Clean and Sand the Bare Wood
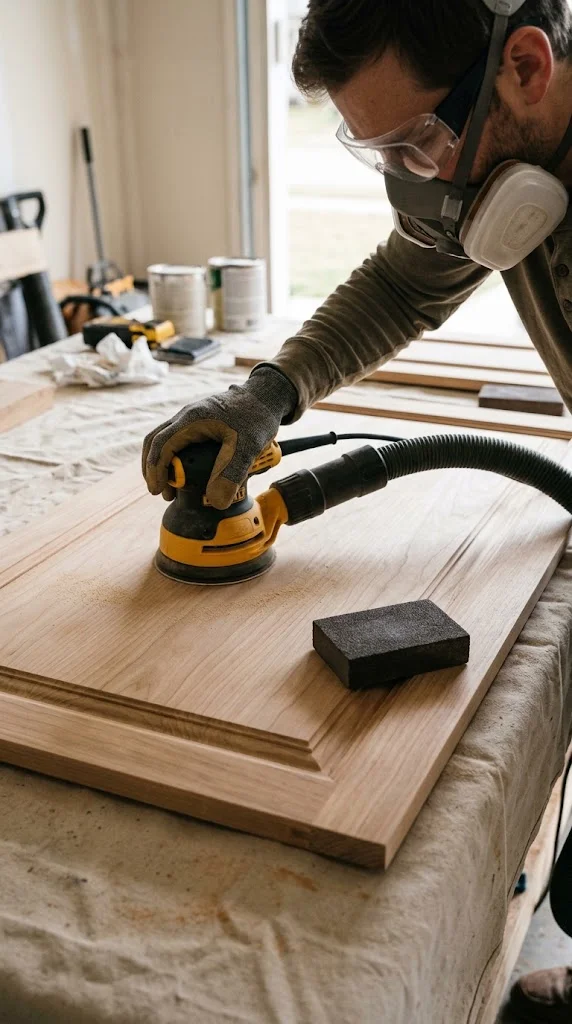
Once the old finish is gone, the wood needs a final prep. This step has the biggest effect on how your finished project looks.
Fix Flaws First
Fill deep scratches, nail holes, and gouges with wood filler. Choose a stainable filler if you plan to use stain, and let it dry fully. Sand it flush with the surface.
For small dents, place a damp cloth over the spot and press a hot iron on it for a few seconds. The steam lifts crushed wood fibers. Let the wood dry, then sand lightly.
Sand to the Right Grit
Many people sand too fine. Very fine grits close the wood pores, and then stain can’t soak in. Use these guidelines:
- Before staining: stop at 150–180 grit on most woods. Stop at 120–150 on softwoods like pine.
- Before a clear finish with no stain: you can go up to 220 grit.
- Between coats of top coat: use 320–400 grit.
Raise the Grain
Wipe the wood with a damp cloth and let it dry. The grain will stand up slightly. Sand it flat with your final grit. This stops the wood from feeling rough after you apply a water-based stain or finish.
Remove All Dust
Vacuum the surface, then wipe it with a tack cloth or a rag lightly dampened with mineral spirits. Dust left behind ends up trapped in your new finish.
Step 6: Apply the New Finish
Work in a clean space at 65–75°F with low humidity. Cold or damp air slows drying and causes problems later.
Condition the Wood
Soft and porous woods like pine, maple, birch, and cherry soak up stain unevenly. Brush on a pre-stain wood conditioner and wait about 15 minutes. Wipe off the extra. Apply your stain within two hours.
Stain the Wood
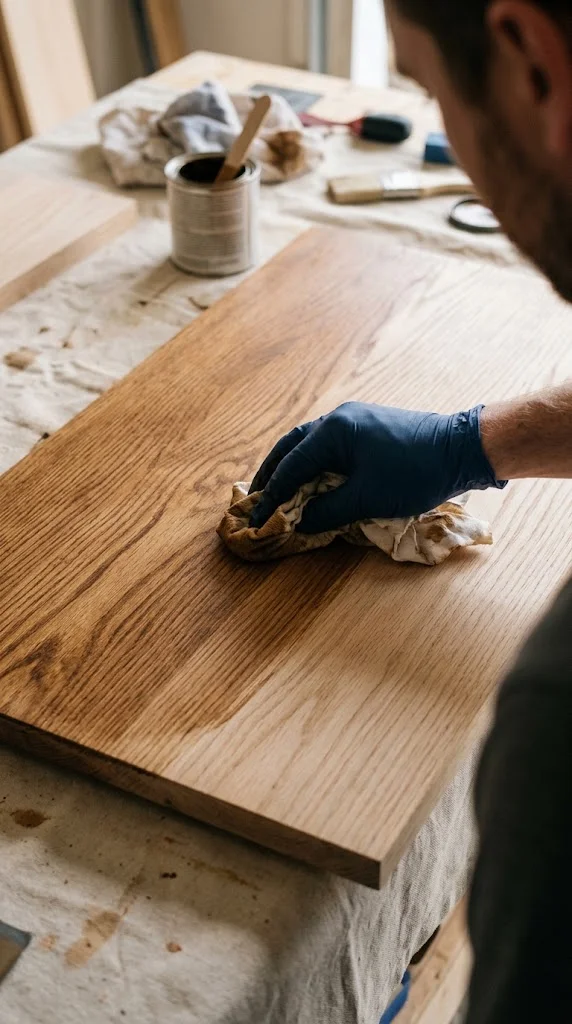
Stain adds color and highlights the grain. It is optional. If you like the natural color, skip it.
- Test first. Try the stain on a hidden spot or a scrap of the same wood. Stain looks different on every wood type.
- Apply with the grain. Use a brush or a clean cloth.
- Wipe off the extra. Wait 5–15 minutes, depending on the product, then wipe. Wiping sooner gives a lighter color.
- Build color slowly. For a deeper tone, apply a second thin coat after the first dries. Don’t leave a thick coat to sit.
Let the stain dry for the time on the can. Oil-based stains often need 24 hours. Water-based stains dry faster.
Seal the Wood (When Needed)
Some finish systems use a sealer or a thin first coat of the top coat to lock in stain. Use a product that matches your stain and top coat. Brush it on evenly with the grain.
Apply the Top Coat
The top coat shields your work from scuffs, spills, and sunlight. Pick it based on how the piece gets used.
- Polyurethane: Best for high-traffic items like doors, tables, and stair rails.
- Varnish: Good for surfaces exposed to moisture or sun.
- Shellac: Dries quickly and works well on trim and low-wear pieces.
- Lacquer: Gives a smooth, even surface, but it needs good ventilation and often spray equipment.
Apply two to three thin coats rather than one thick coat. Let each coat dry fully, then sand lightly with 320–400 grit and wipe off the dust. Oil-based polyurethane usually needs about 4–8 hours between coats. Water-based types often need 2–4 hours. Always check your product label.
Troubleshooting Common Refinishing Problems
Even careful work can run into trouble. Here is how to spot and fix the most common issues.
Blotchy or Streaky Stain
Uneven color usually comes from porous wood or uneven sanding. Use a wood conditioner before staining, sand evenly, and consider a gel stain. Gel stain sits on the surface and gives more even color.
Rough Surface After Staining
A rough feel means the grain has risen. Sand lightly with 220 grit, wipe off dust with a tack cloth, and apply the next coat.
Sticky or Tacky Finish
A tacky finish means the coat was too thick, the air was too cold or humid, or the coat didn’t get enough time to dry. Wait a few extra days in a warm, dry room. If it stays sticky, wipe it with mineral spirits (for oil-based finish) and apply a thinner coat.
Bubbles in the Finish
Shaking the can adds air. Stir gently instead. Use a good brush, apply in long, smooth strokes, and don’t overwork the surface. If bubbles dry in place, sand with 320–400 grit and apply another coat.
Scratches and Dents Show Up After Refinishing
Fill deep marks with wood filler before staining. For shallow dents, use the damp-cloth-and-iron method described earlier.
Stain Won’t Soak In
Old finish, wax, or oil left on the wood blocks stain. Strip or sand the area again and wipe it with mineral spirits. Let it dry fully before staining.
White Rings or Cloudy Spots
Moisture trapped in the finish causes white marks. For light marks, rub gently with a soft cloth and a small amount of non-gel toothpaste, or try a cloth with mild, low heat from an iron. Test first on a hidden spot. Deep marks often need sanding and a new top coat.
Peeling or Flaking Finish
Poor prep is the usual cause. Strip the flaking area, sand to bare wood, clean the surface, and refinish. Use quality products and follow the label.
Uneven Color or Dark Spots
Test your stain on scrap wood from the same piece when you can. Apply it the same way across the whole surface, and wipe off the extra evenly.
Top Coat Won’t Stick to the Stain
Check that the stain and top coat are compatible. Oil-based stain pairs well with oil-based polyurethane. Let the stain dry fully, then scuff the surface lightly with fine sandpaper before applying the finish.
Quick Tips for Better Results
- Work on one section at a time so wet edges don’t dry before you blend them.
- Use good lighting. Angled light shows missed spots and drips.
- Don’t rush drying times. Waiting an extra day is cheaper than redoing the work.
- Wait several days before heavy use. Most finishes take up to 30 days to fully cure, so be gentle with the surface during that time.
Final Thoughts on Refinishing Woodwork
Refinishing woodwork takes time, but the steps are simple. Identify your finish, protect yourself, strip it cleanly, sand with the right grits, and apply thin, even coats. Most problems trace back to rushed prep or thick coats, so slow down at those two points.
Start with a small, low-visibility piece if this is your first project. You’ll learn how your stain and top coat behave, and you’ll feel confident when you move on to your trim, cabinets, or favorite furniture.