

A rustic cabin shower uses natural materials like wood, stone, and metal to match the cabin’s character. Plan four things first: where the water comes from, how you heat it, where it drains, and how you keep the walls dry. Get those right, and the style takes care of itself.
A good shower makes a cabin weekend feel complete. You hike, fish, or chop wood all day, and then you want hot water and a place to rinse off. A rustic cabin shower gives you that, and it looks like it belongs with the logs and stone around it.
Building one takes planning. Water has to come in, heat up, and drain out without rotting your walls. This guide covers materials, layouts, water supply, drainage, fixtures, and common mistakes. Whether you are remodeling a bathroom or building an outdoor stall, you will find steps you can use.
What Makes a Shower Look Rustic
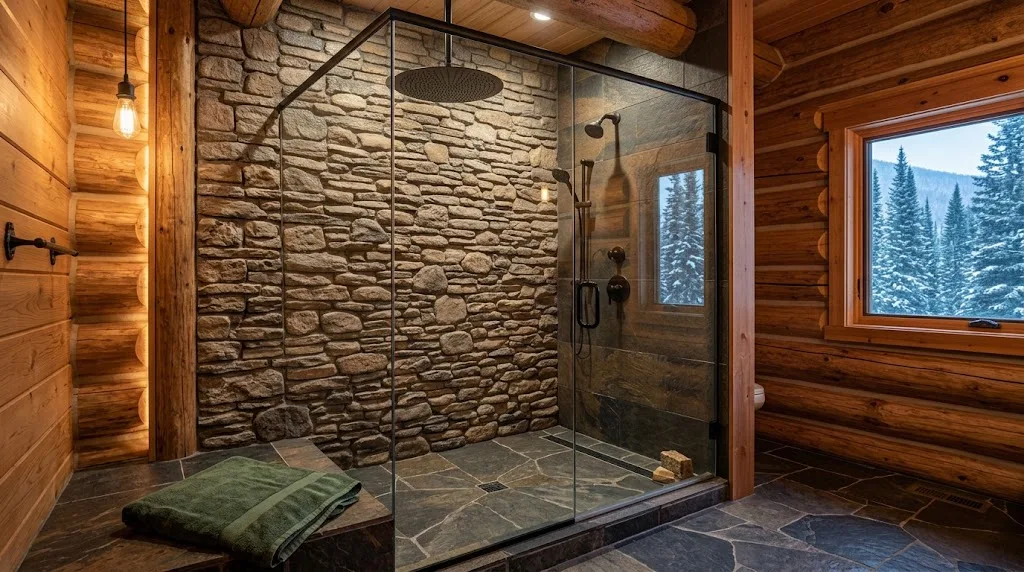
Rustic style starts with natural materials. Think rough-hewn wood, stone, slate, copper, and aged metal. Designers often point to texture as the main signal. Smooth, shiny surfaces feel modern, while uneven, matte, and weathered surfaces feel like a cabin.
Color matters too. Earthy greens, soft blues, warm browns, and neutral grays fit best. Bright or bold colors tend to look out of place against log walls. If you want contrast, black fixtures against warm wood work well.
You can also mix rustic with modern touches. A clear glass door and matte black hardware look sharp next to natural wood and dark slate. That mix keeps the shower from feeling dated. It also makes a small space feel larger, because glass does not block the view.
Choose the Right Wall Materials
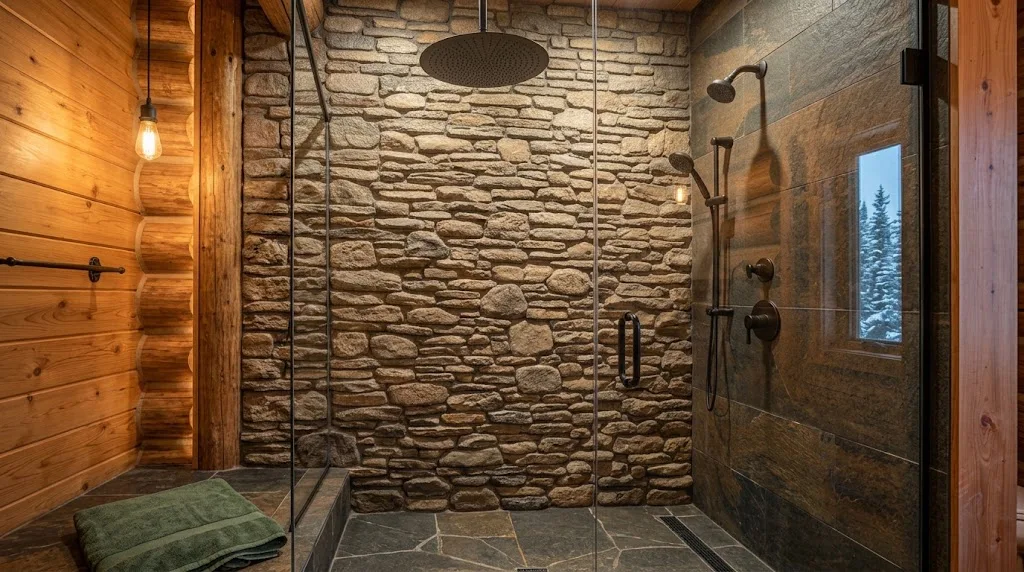
Walls take the most abuse in a shower, so pick with care. Wood looks great but needs sealing in wet areas. Cedar is a common choice because it resists rot better than most softwoods. Even so, plan to reseal it on a regular schedule, and keep wood walls a few inches off the floor.
Stone is the strongest option. Slate, limestone, granite, and river rock all handle moisture and temperature swings. A full stone wall looks dramatic, and it will outlast most other finishes. The downside is weight and cost, so many people use stone on just one wall.
Tile is a middle path. Large tiles with a rough surface give a rustic feel and are easy to clean. Corrugated metal panels work well in outdoor showers and give a clean, modern-rustic look. If your budget is tight, reclaimed materials and a single statement wall deliver the most impact for the least money.
Pick a Floor That Drains and Grips
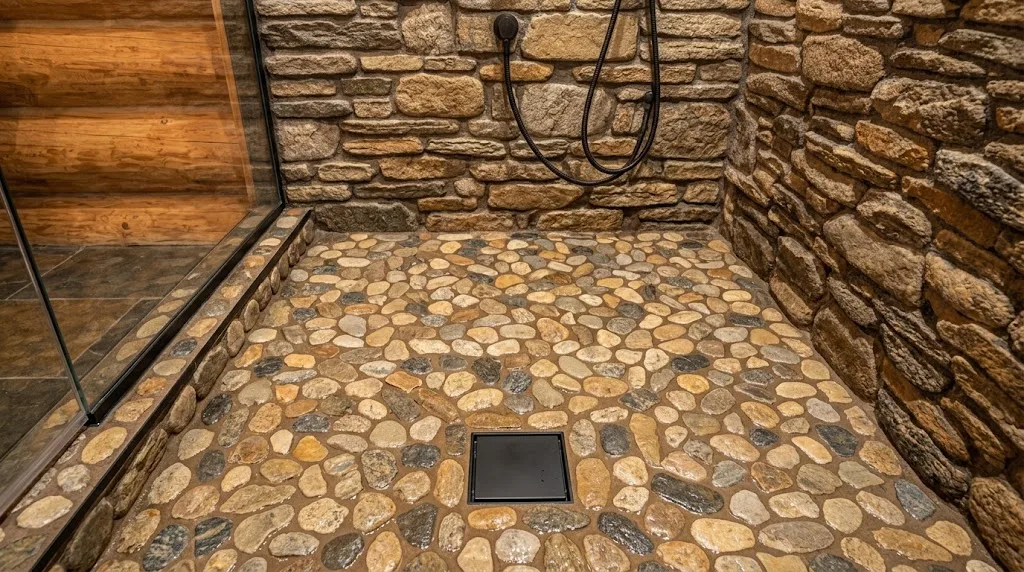
A shower floor must slope toward the drain. The standard pitch is about a quarter inch per foot. Too little slope leaves standing water, and standing water breeds mildew and rot.
Pebble tile is a favorite for cabins. It feels natural underfoot, gives good grip, and looks like a creek bed. Grout lines need regular cleaning, though. Slate and textured porcelain are easier to keep clean.
For an outdoor stall, a gravel base works well. Water soaks through the stones and disappears into the ground. Wood slat floors also work if you leave small gaps between boards and raise them off the soil. Either way, keep the surface from getting slick. A fall in a shower is a bad way to end a cabin trip.
Plan Your Water Supply
Where your water comes from shapes every other choice. If your cabin connects to a well or town line, you can plumb a standard shower. Run lines carefully, and insulate them if winters get cold. Frozen pipes are the most common cabin plumbing failure.
Off-grid cabins need another plan. One proven setup uses a 300-gallon IBC tote fed by roof gutters, so rain fills it for free. A small tankless heater then warms the water on demand. Others haul water in buckets and pour it into a barrel mounted above the shower head. Gravity does the rest.
Think about volume before you build. A shower head that runs at 2.5 gallons per minute uses about 12 gallons in a five-minute shower. A low-flow head at 1.5 gallons per minute cuts that to under 8. In a cabin with limited storage, that difference adds up fast.
Heat the Water Without Much Fuss
You have several ways to get hot water in a cabin. A propane tankless heater is common because it needs no electricity beyond a small ignition. An electric tank heater works if you have solid power. Wood-fired water heaters suit cabins with a stove and a steady supply of fuel.
Solar is the simplest choice for summer. A black solar bag or a solar-heated tank can warm water through the afternoon. One off-grid rental in Colorado uses a solar-heated outdoor shower with a manual pump and a privacy screen. It works because the guests plan their showers for late day.
If you heat with fire, think about safety. A closed barrel of water over a fire can build dangerous pressure if it boils. Always vent the tank. When in doubt, hire a plumber to check your design.
Handle Drainage and Greywater
Drainage gets ignored until it fails. Shower water, called greywater, has to go somewhere safe. In a cabin with a septic system, you can tie the shower into it. Check your local rules first, because systems vary by county and state.
Without septic, many cabin owners use a gravel pit or a shallow trench that carries water away from the building. The water filters down through the soil. Keep it far from wells, streams, and lakes. Pouring greywater straight into a lake or stream pollutes it, even in small amounts.
Use biodegradable soap and skip harsh cleaners. That protects plants and soil near the drain. Also check local codes before you build anything permanent. Rules on greywater differ widely, and a short call to your county office can save you from tearing out a finished project.
Rustic Outdoor Shower Ideas
An outdoor shower suits a cabin near a lake, river, or trail. It keeps sand and mud out of the house and cuts down on moisture inside. It also feels good on a warm evening.
Here are a few ideas that work. Attach the shower head to the cabin wall and build a small gate and two side panels. Use cedar boards with gaps for airflow. Try corrugated metal screens for a sleek look that handles weather. One cabin owner even built an enclosure using a canoe as part of the wall. Surfboards, bamboo poles, and reclaimed fence boards can also work.
Privacy is the main design question. A fully open shower works only if your lot is hidden from neighbors and the road. Otherwise, build at least a three-sided screen. Add a pergola or a few tall plants for shade. Leave the top open so steam can escape.
Choose Fixtures and Hardware
Fixtures set the tone more than most people expect. Matte black, oil-rubbed bronze, aged brass, and copper all fit a cabin. Polished chrome can look too clean next to rough wood. If you like the contrast, use it in one place only.
A rain-style shower head gives a soft, wide spray. A simple pipe with a basic head feels more rustic and costs less. For outdoor use, choose brass or stainless steel. Cheaper metals corrode quickly when exposed to rain and sun.
Pick durable valves and keep them easy to reach. In cold climates, add shutoff valves so you can drain lines before winter. Antique-style hardware looks great, but make sure parts are still sold. Replacing a one-off valve years later is a headache.
Add Lighting and Small Details
Lighting changes how a shower feels. Choose fixtures made from wrought iron, aged brass, or distressed wood. Warm bulbs make wood and stone look rich. Cold white bulbs make the same materials look flat.
Layer your light if the space allows. A dimmable overhead fixture plus a soft light near the vanity works well in a small bathroom. In a shower itself, use a fixture rated for wet locations. Safety comes first, so have a licensed electrician handle the wiring.
Small touches finish the look. Add a wood bench, a teak bath mat, or open shelves for towels. Hang a few hooks cut from branches or forged iron. Open shelving costs less than cabinets, but it needs tidy storage. Keep the counts low, because clutter ruins a rustic bathroom.
Make a Small Cabin Shower Feel Larger
Many cabins have tight bathrooms, so layout matters. A corner shower saves floor space. A walk-in design with no door removes one more visual barrier. If you want a door, use clear glass.
Light colors on the ceiling and upper walls open up a room. Dark wood can stay on one wall or on the floor. Hang a large mirror across from a window to bounce light around. Floating vanities and wall-mounted shelves free up the floor.
Ventilation deserves attention in a small space. Cabins trap moisture, and moisture rots logs. Install an exhaust fan, and run it during and after each shower. Open a window when you can. One cabin owner switches the fan off only when the cabin sits empty, which keeps the air fresh between visits.
Mistakes to Avoid
Skipping waterproofing is the biggest mistake. Wood, drywall, and logs all suffer when water seeps behind the finish. Use a proper waterproof membrane behind tile and seal every seam.
Another common error is ignoring winter. Pipes freeze, outdoor fixtures crack, and wet wood splits. Plan for drainage and shutoff before the first frost. If you leave the cabin empty for months, drain everything.
Third, many builders forget access. Put shutoff valves, heaters, and drains where you can reach them without taking apart a wall. And don’t copy a pretty photo without checking if it suits your climate. A design that works in a dry mountain cabin may fail in a damp forest.
Start Simple, Then Build Up
You do not need to build everything at once. Begin with a basic setup that works, such as a simple stall with good drainage and a solid water source. Add stone, better fixtures, and lighting as your budget grows.
A rustic cabin shower should feel natural, work reliably, and last for years. Focus on water, heat, drainage, and dry walls first. Then choose materials that look good and age well. Measure your space this week, sketch a layout, and call your county office about local rules. That plan gets you moving.