

If you are pricing insulation for an attic, a remodel, or a drafty basement, the spray foam insulation cost is usually the first number that makes you pause. Spray foam is one of the most expensive ways to insulate a home, and also one of the most effective, because it insulates and air-seals in a single step. The price depends less on the foam itself than on which type you choose, how thick it is applied, and how hard the space is to reach. This guide breaks down typical United States prices for 2026 as planning estimates and ranges only, so you can budget before asking local installers for written quotes.
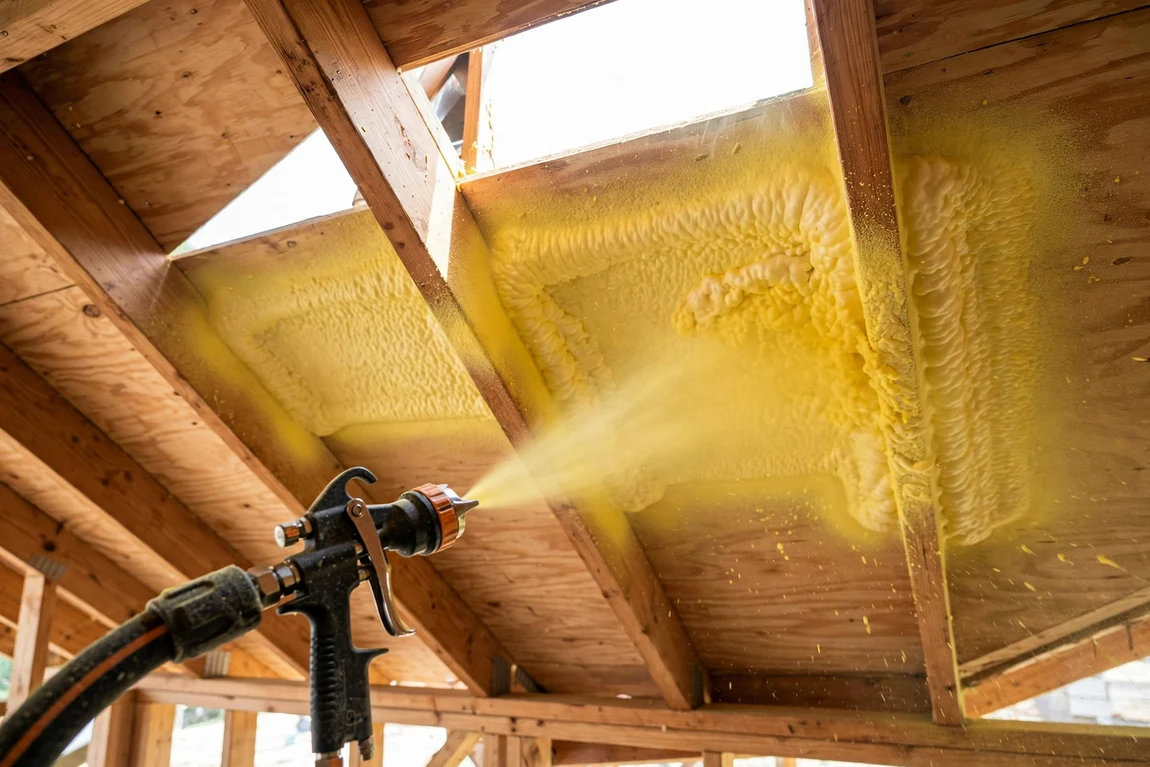
A spray hose and nozzle applying foam between attic rafters, sealing gaps as it expands. (Illustrative image)
Open-Cell vs Closed-Cell: What You Are Paying For
All spray foam starts as two liquid chemicals that react and expand when sprayed. How that expansion finishes explains most of the price gap between the two types.
Open-cell foam expands a lot, stays soft and spongy, and is filled with tiny cells that are not completely sealed. It delivers roughly R-3.5 to R-3.7 per inch in general terms, so you need a thicker layer to reach a target R-value. It is excellent at air sealing and sound dampening, is usually the cheaper of the two foams, and because it can pass some moisture, a leak above it is more likely to show itself rather than stay hidden. It suits interior walls, attic roof decks in suitable climates, and large areas where depth is available.
Closed-cell foam expands less, cures hard and dense, and delivers roughly R-6 to R-7 per inch in general terms, about double open-cell in the same thickness. At sufficient thickness it resists moisture vapour well, adds rigidity, and performs well in tight or damp-prone spots. That performance costs more per inch. It is the usual pick for rim joists, crawl spaces, and anywhere space is limited. Many projects mix the two, using closed-cell where moisture or thin cavities demand it and open-cell elsewhere.
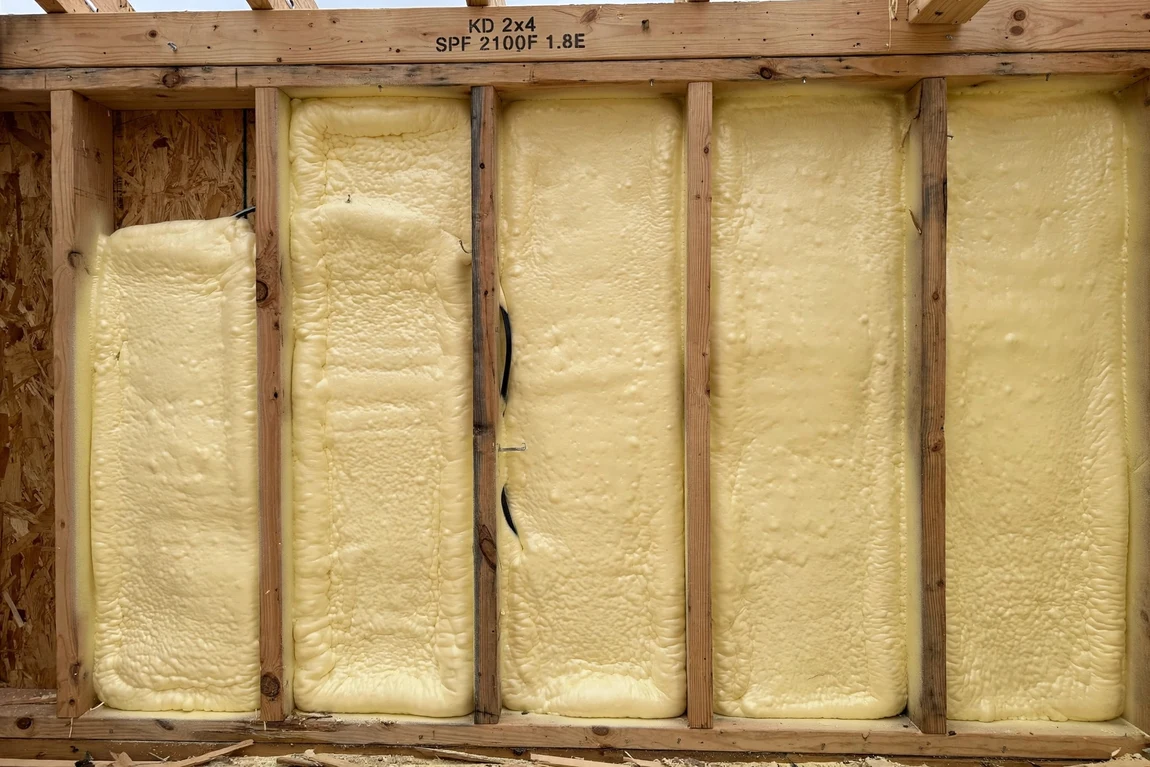
Cured closed-cell foam sitting dense and firm inside a framed wall bay. (Illustrative image)
What the spray foam insulation cost Includes
Installers often price by the board foot: one square foot covered one inch thick. As a rough 2026 planning guide, open-cell foam commonly falls around $0.50 to $0.90 per board foot installed, and closed-cell around $1.00 to $1.60, before minimum charges and prep work. Converted into typical thicknesses, that gives the ranges below. Treat every figure as a planning range, not a quote.
| Application | Open-Cell Typical Installed Cost | Closed-Cell Typical Installed Cost |
|---|---|---|
| Attic roof deck or attic floor, typical residential thickness | $1.50 to $3.50 per square foot | $3.50 to $6.50 per square foot |
| Exterior walls, standard stud cavity | $1.25 to $2.75 per square foot | $2.50 to $5.00 per square foot |
| Basement rim joists, thin closed-cell layer typical | Rarely used here | $2.00 to $4.00 per square foot of joist area |
| Crawl space walls | Rarely used here | $3.00 to $6.00 per square foot |
| Small job minimum charge, either type | Often $500 to $1,500 before any foam is sprayed | |
For a 1,000-square-foot attic, those ranges mean budgeting roughly $1,500 to $3,500 for open-cell and $3,500 to $6,500 for closed-cell as a planning estimate. Compare other attic options first; our guide to attic insulation cost shows what blown-in and batt alternatives typically run.
Where Spray Foam Makes Sense, and Where Cheaper Insulation Wins
Spray foam earns its premium where air leakage is the real problem. Rim joists, irregular old-house framing, cathedral ceilings, bonus rooms over garages, and crawl spaces are hard to seal with batts, and foam handles their odd shapes in one pass. It also suits unvented attics, where insulation belongs at the roof deck.
Cheaper insulation often wins in simple, open spaces. A flat, accessible attic floor can usually reach a high R-value with blown-in cellulose or fiberglass for far less per square foot, and standard wall cavities can perform well with carefully fitted batts plus separate air sealing. If a cavity is easy to reach, rectangular, and dry, foam may add comfort only marginally. Spend the foam budget on the leaky, awkward areas first, then use economical materials for the straightforward ones.
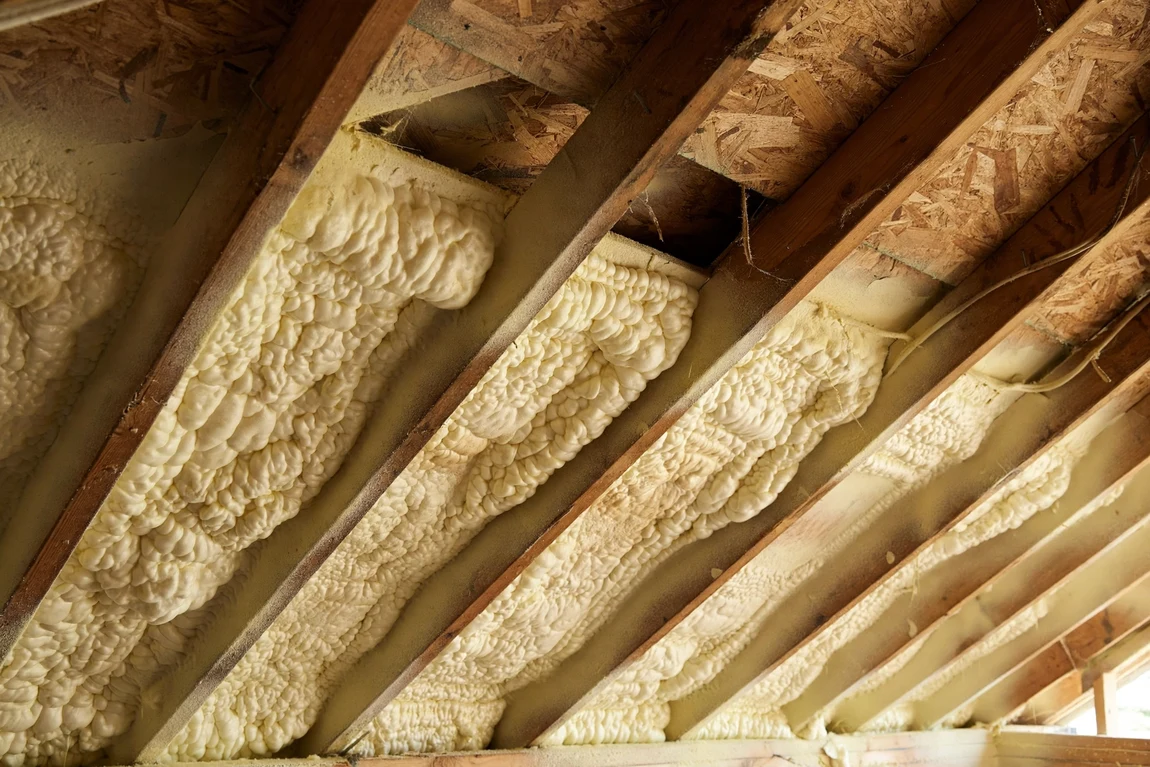
Open-cell foam expanded thick and soft between the rafters of a sloped attic roof. (Illustrative image)
What Installation Involves
A professional crew masks windows, floors, and fixtures, sets up ventilation, and heats and mixes the two components in a rig outside or in a trailer. The applicator sprays the foam in passes, building to the specified thickness, then trims any excess once it cures. Old insulation may need removing first, usually as a separate line item.
Occupants, children, and pets usually leave during application and for a curing period afterwards, commonly the rest of that day and often around 24 hours, following installer and product instructions. The chemicals used during spraying produce strong fumes, and properly cured foam is a different material from foam still reacting. Ventilate as directed, do not re-enter early just because the smell fades, and ask the installer in writing when it is safe to return.
Factors That Change the Price
- Type and thickness: Closed-cell foam and deeper applications use more material per square foot and cost more.
- Access: Low attics, tight crawl spaces, and multi-storey wall work slow the crew and raise labour costs.
- Job size: Small jobs carry minimum charges, so the per-square-foot price of a rim-joist-only job looks high.
- Prep and removal: Removing old insulation and masking add time and disposal fees.
- Region and season: Labour rates vary widely, and demand peaks in the coldest and hottest months.
- Code requirements: Some applications need an ignition or thermal barrier covering, which adds material and cost.
DIY Kits vs Hiring a Pro
Disposable foam kits can make sense for very small, well-defined jobs, such as sealing rim joists or patching around a few penetrations. Material cost per board foot is often higher than a pro charges, the tanks are temperature-sensitive, and hesitation leaves thin or poorly mixed spots. Kits carry the same chemical safety requirements, so budget for a proper respirator, suit, and eye protection, and ventilate seriously.
For attics, whole walls, or any job measured in hundreds of square feet, a pro is usually better value: calibrated equipment, consistent thickness, disposal handled, and a contractor responsible if a section is underfilled. If you are also upgrading heating and cooling, pairing air sealing with the equipment sizing in our heat pump installation cost guide can stop you paying for a bigger system than your tightened-up house needs.
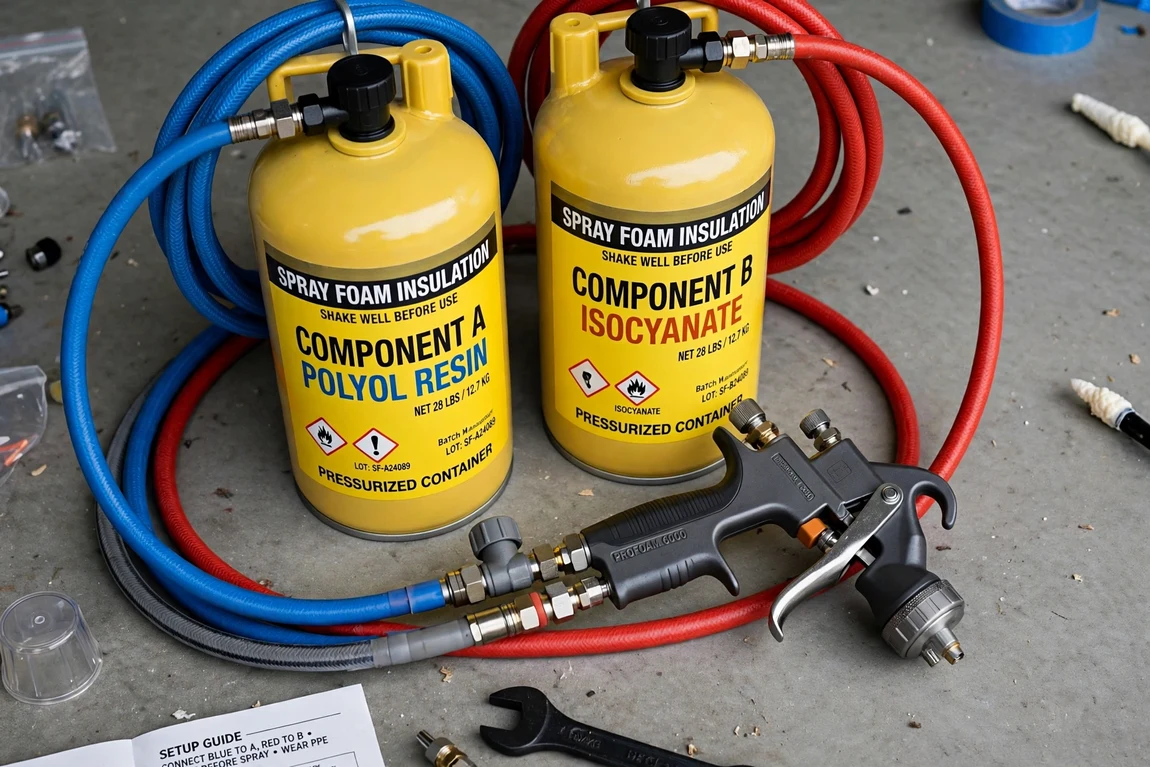
Foam kit canisters, hoses, and a spray gun, the equipment behind both DIY and pro work. (Illustrative image)
How to Save Without Cutting Corners
- Get at least three written quotes that state foam type, thickness, and area in the same terms, so you are comparing like with like.
- Foam the worst air leaks first, especially rim joists and attic bypasses, and use cheaper insulation in easy open areas.
- Combine small areas into one visit to spread the minimum charge across more work.
- Ask about off-season scheduling, when some installers discount to keep crews busy.
- Check current federal, state, and utility insulation incentives before signing; eligibility and amounts change, so confirm the rules for your install year.
- Do your own prep where the installer allows it, such as clearing the attic or removing stored items.
Finally, put spray foam in context with your other cold-weather work. Sealing and insulating alongside the tasks in our guide on how to winterize your home gives a bigger comfort gain than any single project alone. Get type, thickness, curing time, and total price in writing, and spray foam becomes a planned, if premium, upgrade.